
If you are searching for a visual timer for autism, there is a good chance a transition went badly today. Leaving the playground, stopping a favorite game, moving from one activity to the next, waiting for a turn. For many autistic children, the hard part is not the activity itself. It is the ending, and the fact that the ending seems to arrive out of nowhere. A visual timer is one of the simplest tools that can change that. This guide explains why it tends to help, which kind of timer to choose, and a gentle, seven-step way to introduce one so it becomes a trusted helper instead of one more thing to fight about.
One note before we start: every autistic child is different, and a timer is a support, not a cure. Nothing here replaces the advice of your child's occupational therapist, teacher or pediatrician. But as a low-cost, low-pressure tool, a visual timer is one of the most frequently recommended supports for a reason.
Why transitions are so hard (and why a timer helps)
Many autistic children experience three things at once around transitions:
- Time feels abstract. "Five more minutes" is just a phrase. Without a way to see time, it has no size and no edge. Five minutes and fifty minutes feel the same until the moment the activity is taken away.
- Change arrives as a surprise. Even a predictable routine can feel sudden if the child cannot see it approaching. A surprise ending is processed as a loss, and the response is often big because it is sincere.
- The adult becomes the problem. When a parent or teacher is the one announcing "time's up," the child's frustration lands on the person, not the clock. That makes the next transition harder, too.
A visual timer addresses all three. It turns time into something concrete and shrinking, it shows the ending coming for the entire countdown instead of all at once, and it makes the timer the "bad guy" instead of the grown-up. Visual supports in general, including schedules, first-then boards and timers, are among the practices most consistently identified as evidence-based for autistic learners, which is why occupational therapists and special education teachers reach for them so often.
Parents of children with ADHD will recognize most of this, and our guide to why visual timers work for kids with ADHD covers the "time blindness" side in more depth. The autism-specific difference is usually the sensory part, which is where choosing the right timer matters.

Choosing a visual timer for an autistic child: what to look for
Not every "visual" timer is a good fit. A loud, ticking kitchen timer that ends in a shrill ring can be worse than no timer at all for a child with sound sensitivity. Here is how the common options compare on the things that matter most for autistic kids.
| Timer type | How time is shown | Sensory load | Best for | Watch out for |
|---|---|---|---|---|
| Disappearing-disc timer (Time Timer style) | Red wedge shrinks | Low; some models tick or beep | Classrooms, older kids who understand "wedge = minutes" | Mechanical ticking; an abrupt end alarm |
| Color-changing light timer | Whole light shifts color or fades | Very low; silent or soft chime | Younger children, sensory-sensitive kids, bedrooms and calm corners | Needs charging; check the end signal is gentle |
| Sand timer | Sand runs out | Very low, silent | Short waits (1–5 minutes) | Fixed durations; easy to knock over; no end signal |
| Phone or tablet timer | Numbers count down | High: screen, notifications, temptation | Adults | Numbers are abstract; the screen itself becomes the fight |
| Kitchen timer | Dial or digits | High: ticking plus loud ring | Cooking | Startling alarm; hard to read |
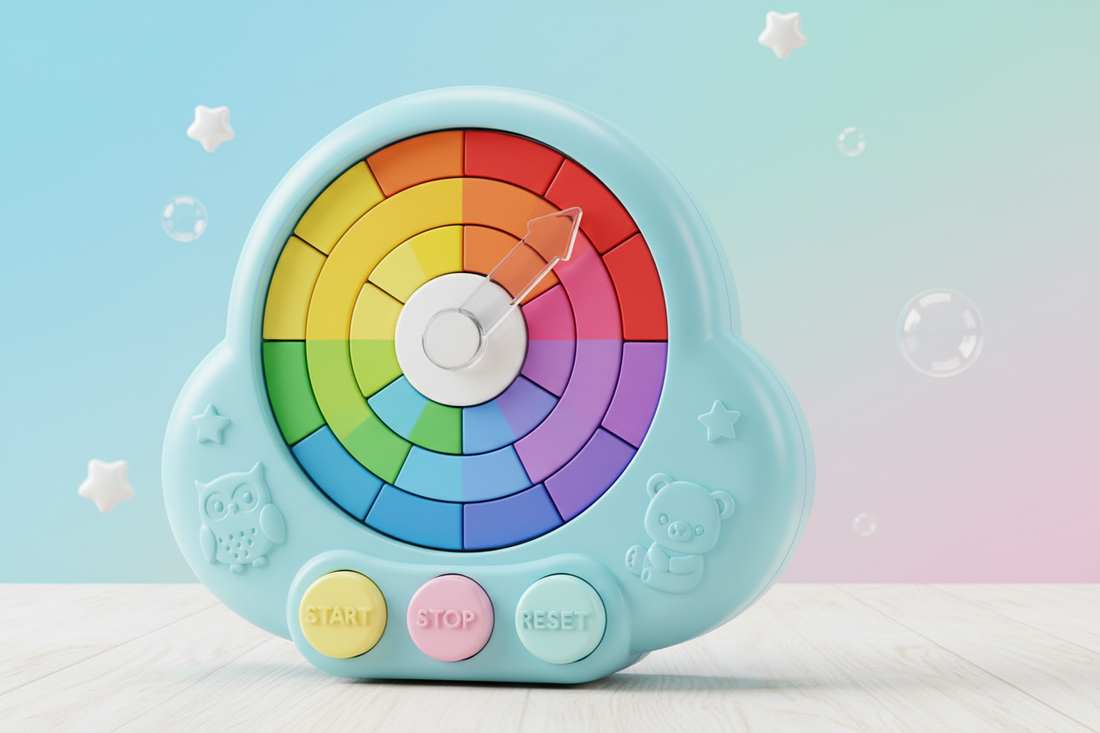
For most autistic children, the two things we would prioritize are a silent countdown and a gentle ending. The countdown should be visible from across the room without the child having to read numbers, and the end should be a soft change, not a jolt. A color-changing timer like the Rainbow Timer Pal fits that brief: the light strips glow and count down as the minutes pass, and the end is a calm fade rather than an alarm. If your child prefers a friendly face to a bar of light, the Koala Timer Pal shifts from blue to yellow at halfway and to purple for the last stretch. Our full comparison of visual timers for kids walks through the trade-offs in detail if you want to shop around.
You do not have to buy anything to find out whether the idea works for your child. Our free visual timer for kids runs in any browser, with no app and no login. Try it on a laptop for a few days first; if your child starts glancing at it on their own, you will know it is worth a dedicated, screen-free device.
How to introduce a visual timer: 7 steps that avoid the power struggle
The mistake most of us make, and we have made it too, is to buy the timer, set it for the hardest transition of the day, and expect it to work on the first try. For an autistic child the timer itself is a change, and change needs its own runway. Here is the sequence that tends to work.
- Let the timer be a toy first. For a day or two, just leave it where your child can see and touch it. Twist it, start it, let the colors change with nothing attached to the ending. No demands. The goal is familiarity.
- Attach it to something fun ending in something equally fun. "The timer says it's bath time" is a terrible first use. Instead, use it for a transition your child wants: "When the light finishes, it's time for the trampoline." Repeat this a handful of times so the timer predicts good things.
- Pair it with a first-then board or two words. "First timer, then snack." Keep language minimal and identical every time. Many autistic children process a short, familiar script far better than a fresh explanation.
- Give a halfway cue, then a last-minute cue. Point at the color change: "Half gone. Yellow means halfway." Then, near the end: "Almost purple." This is the most important step. The cues teach your child to read the timer themselves so you eventually do not have to say anything at all.
- Keep durations short at first. Three to five minutes. A long countdown on a timer the child does not yet trust is just a long wait for a bad thing. Build up as the timer earns credibility.
- Follow through, calmly, every time. When the timer ends, the activity ends, even if your child is doing beautifully and you are tempted to let it ride. Consistency is what makes the timer trustworthy. If a transition still goes badly, the timer did its job of giving warning; the next step is the transition plan itself, not more warnings.
- Hand over control gradually. Once your child reads the timer, let them set it for agreed activities. "You can have ten minutes of blocks. Set the timer." Ownership turns a tool you impose into a tool they use.

Where a visual timer helps most
Families and teachers tell us the same handful of moments come up again and again. If you are not sure where to start, pick one of these and leave the others alone until it is running smoothly.
Ending a preferred activity
Screens, trains, a favorite book on repeat. This is the big one. The timer gives the ending a shape, and the halfway cue gives your child time to finish a "loop" rather than being cut off mid-pattern. If the activity is a screen, our scripts for ending screen time without a meltdown pair well with a timer.
Waiting
Waiting for a turn, for dinner, for a sibling to finish. "Wait" has no edge; a timer gives it one. Short sand timers or a two-minute visual timer are ideal here, and they also teach the concept of "not yet" without the adult repeating it.
Transitions at school
Centers, specials, lining up. Teachers often run one classroom timer that every child can see, with the first-then language built into the daily schedule. It lowers the number of verbal prompts dramatically, which helps the children who find verbal prompts overwhelming.
Independent work and homework
Ten minutes of a task, then a break, with the timer showing both. For many autistic kids the hardest part of a task is not knowing how long it will last. Showing "this much, then done" shrinks the task to a size they can start.
Bedtime wind-down
A soft, color-changing timer works as a lamp as well as a clock. Set it for the last fifteen minutes of the routine so that lights-out is a slow fade the child watched coming, not a switch flicked by someone else.
Common mistakes, and what to do instead
- Using the timer only for bad news. If the timer only ever means "stop," your child will learn to hate it. Use it for good endings too: "When the timer finishes, we leave for the park."
- Adding a countdown of words on top of the timer. "Three minutes… two minutes… one minute… thirty seconds…" turns the visual into an audio nag. Two cues, halfway and near the end, are plenty.
- Changing the duration mid-countdown. Adding "two more minutes" because things are calm teaches the child that the timer is negotiable. Set it once; if you want to be generous, be generous before you start it.
- Expecting the timer to handle the transition. The timer gives warning. Your transition plan (what happens next, who helps, what the child carries with them) handles the transition.
- A startling end signal. If your timer beeps or rings, check whether it can be muted. A sound-sensitive child can be more upset by the alarm than by the ending.
Frequently asked questions
What is the best visual timer for an autistic child?
The best visual timer for autism is one that counts down silently, can be read from across the room without numbers, and ends gently rather than with a loud alarm. Color-changing light timers tick all three boxes for most children; disappearing-disc timers work well for older kids who are comfortable with the "shrinking wedge" idea. Avoid phone timers, since the screen itself tends to become the struggle.
At what age can an autistic child start using a visual timer?
Many children start between ages 2 and 4, as soon as they can notice that a color or shape is changing. Early on, the adult does the reading ("yellow means halfway") and the child simply gets used to the timer predicting what comes next. Independent use usually follows later, often around school age.
My child gets more upset when the timer ends. Is it not working?
Usually it means the timer was introduced on a hard transition before it had earned trust, or the countdown was too long. Go back to short durations attached to fun endings for a week, keep the halfway and last-minute cues, and make sure the end signal is not startling. If distress continues, talk to your child's occupational therapist about pairing the timer with a transition object or a first-then board.
Should I use a visual timer at school and at home?
Yes, and ideally the same kind. Consistency across settings is one of the things that makes a visual support work. Ask your child's teacher what the classroom uses; if the school uses a color-based timer, matching it at home means your child only has to learn one system.
Is a visual timer the same as a visual schedule?
No, and they work best together. A visual schedule shows the order of the day (first, then, next); a visual timer shows how long the current step lasts. Children who struggle with transitions usually benefit from both: the schedule answers "what's next?" and the timer answers "when?"
Start with one transition
You do not need to fix every transition this week. Choose one, ideally a fun-to-fun one, introduce the timer as a toy first, and run the seven steps for a few days. Most families notice the first change not in the child but in themselves: fewer verbal warnings, fewer arguments, and a shared language ("almost purple") that both of you can use. From there, the timer tends to spread to the harder moments on its own.
If you would like to try before you buy, the free online visual timer is a good place to start, and the screen-free Timer Pal collection is where to go when your child is ready for one that lives on the shelf, not the laptop.


